Installing Seismovision 3 Guide
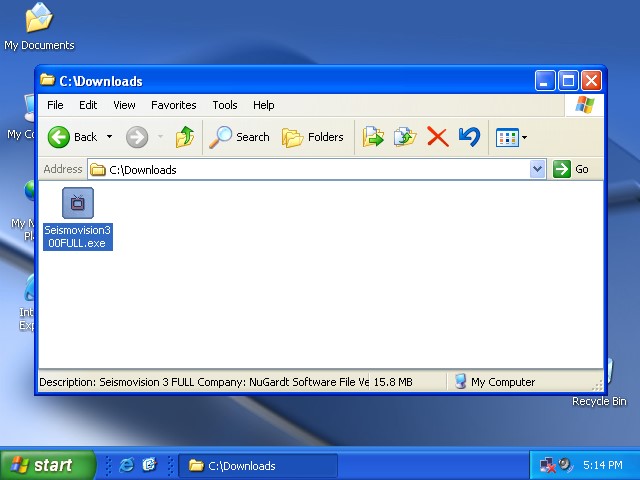
This visual guide will step you through the process of installing Seismovision 3 on your Windows based computer. It is assumed that you successfully downloaded the Seismovision 3 installer onto your hard disk drive.
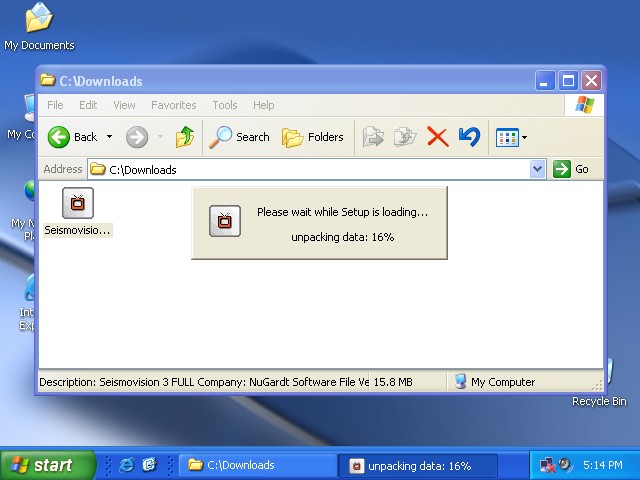
1. Executing the installer
Double click on the Seismovision installer. A small grey box pops up counting to 100%. The installer unpacks and checks integrity. If you get an error message here, it means that your download is corrupt. Download and try again.
2. Choosing your Language
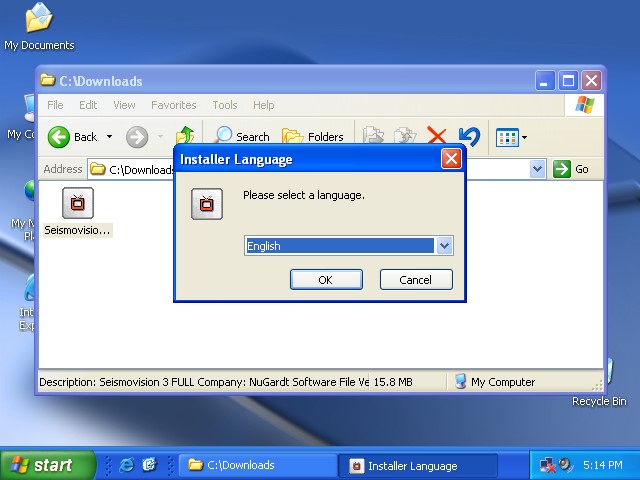
Select your desired language. The installer detects your current language and selects it automatically when available in Seismovision. Make your selection and click 'Ok'.
3. The Welcome screen

Simply click 'Next'.
4. The License Agreement
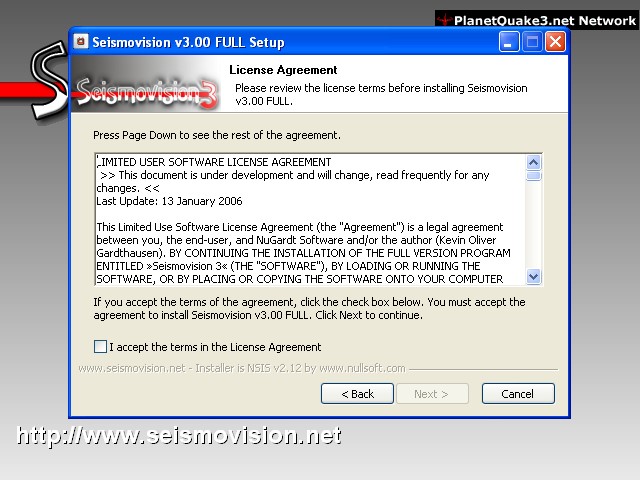
Read the agreements. When you agree, check the 'I accept the term in the License Agreement' check box. If you for some reason do not agree, click 'Cancel' and exit the installer and delete the Seismovision 3 installer.
5. Install Selection
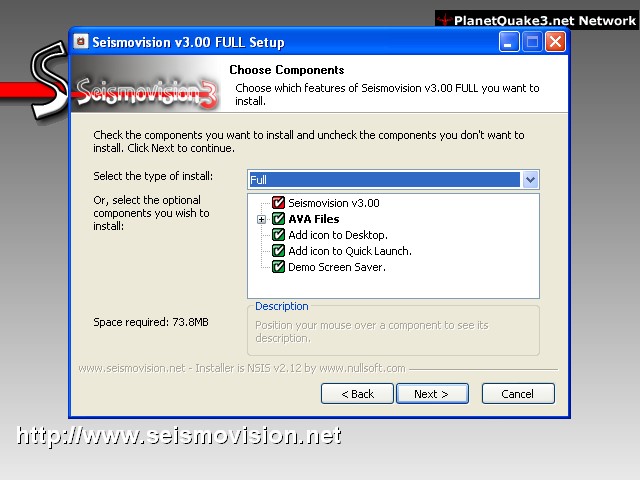
Select the components you like to install. By default everything is selected. 'Seismovision v3.00' is a required component and cannot be removed from the selection. To install only certain AVA Files, expand the node by clicking on the plus (+) sign. Make your selections and click 'Next'.
6. Install Path
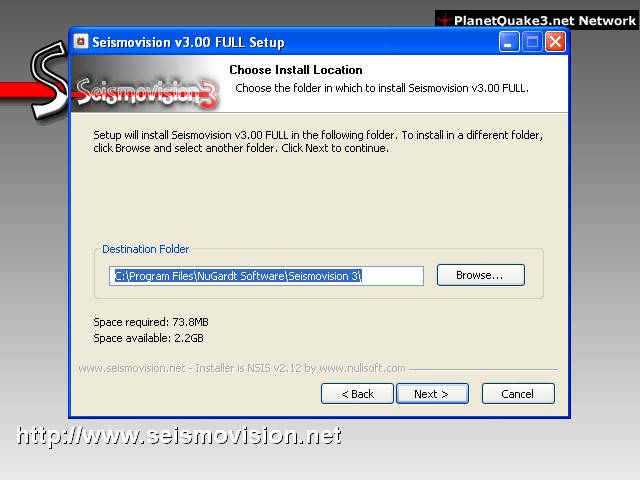
By default, Seismovision 3 is installed at 'C:\Program Files\NuGardt Software\Seismovision 3\'. You may change this by typing a new path or by using the browse button. Make your selection and click 'Next'.
7. Start Menu Path
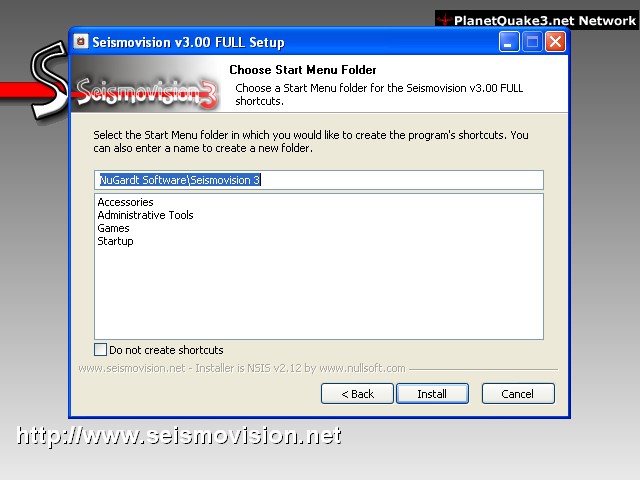
You may change the path where the Seismovision start menu items appear in your start menu. Leave at default if unsure. Make your selection and click 'Next'.
8. Installing

The Seismovision 3 installer is now installing all the selections you made. Be patient, this normally takes less than a minute.
9. Game Selection
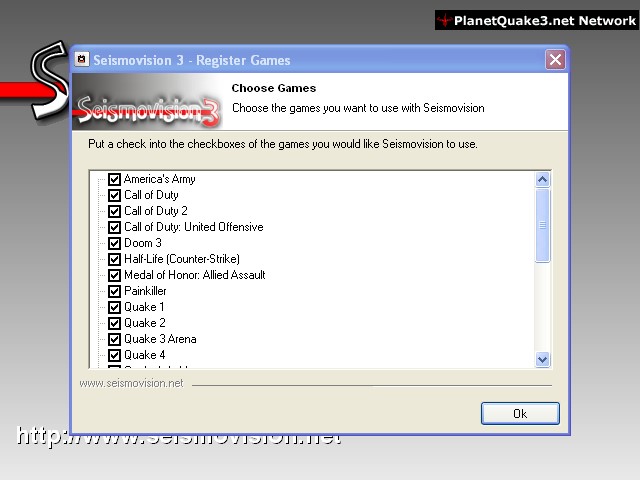
Select the game you want to use with Seismovision. All games are selected by default. Click 'Ok' and a small progress bar box pops up. This will take a couple of seconds.
10. Screen Saver
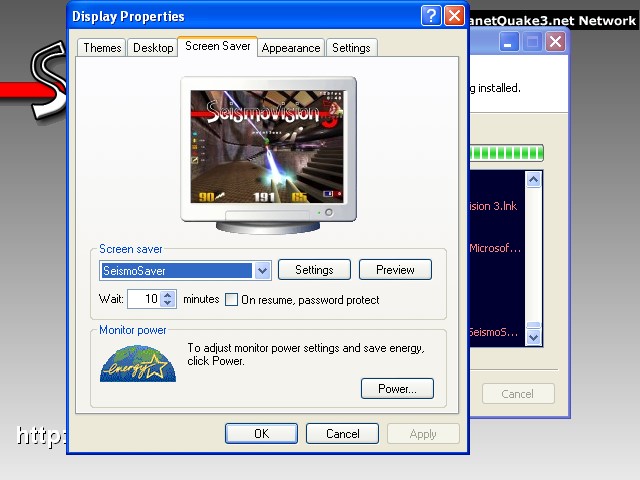
The screen saver dialog box pops up if you selected the screen saver to be installed. If you are reinstalling, this window will not pop up. You will have to add demos to the screen saver play lists to make the screen saver fully operational. This feature is only available to registered users. Click 'Ok'.
11. Done
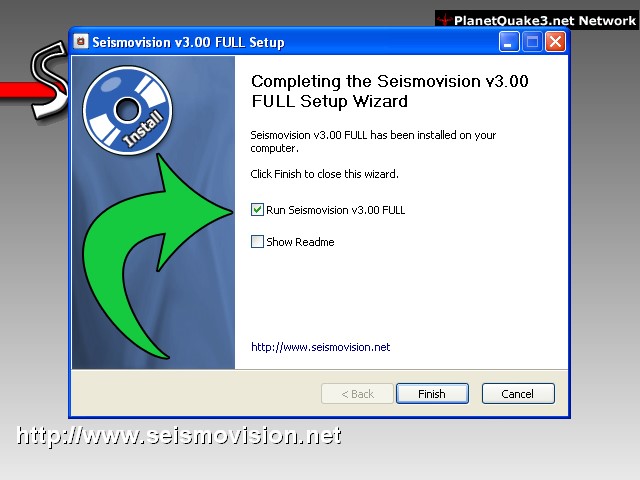
The installation is complete. Click 'Finish'.
This concludes the install guide for Seismovision 3. Read the Playing My First Demo Visual Guide for first time users.