The Screen Saver Guide
This guide introduces you to the Seismovision 3 Screen Saver.
The screen saver is setup like any other screen saver in Windows. To make the screen saver play demos, demos will have to be added to the screen saver play list. Although any demo type can be added to the play list, it is recommended to use games which support the looping demos.
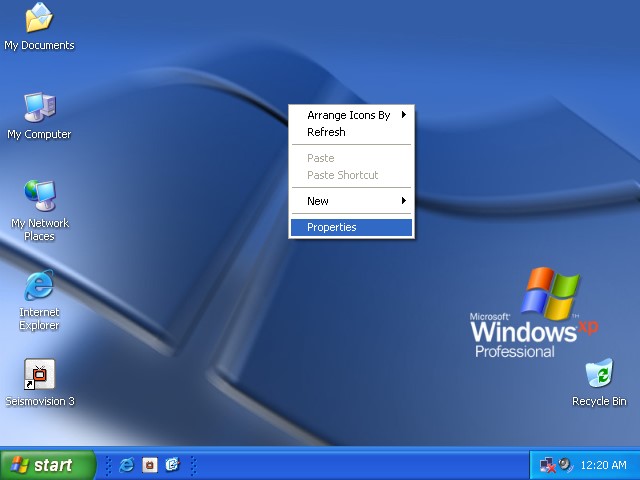
1. Open Display Properties
Right-click on an empty space on the Desktop and select 'Properties'.
2. Choose Screen Saver
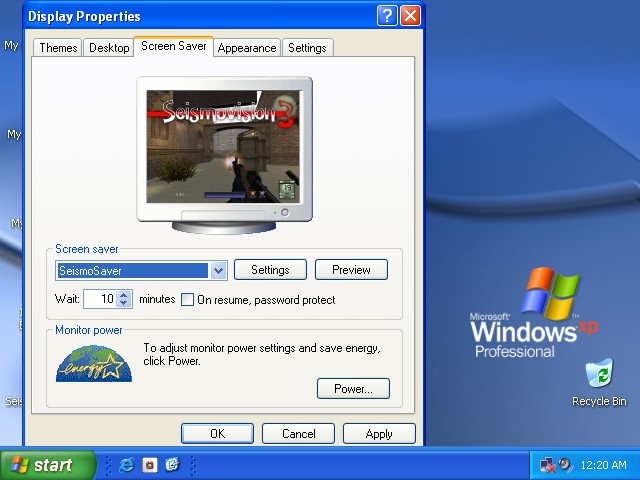
Choose 'Screen Saver' from the tab and select 'SeismoSaver' from the screen saver combo selection box. When correctly selected, some game screen shots will be shown in the preview window.
3. Demos to the play list
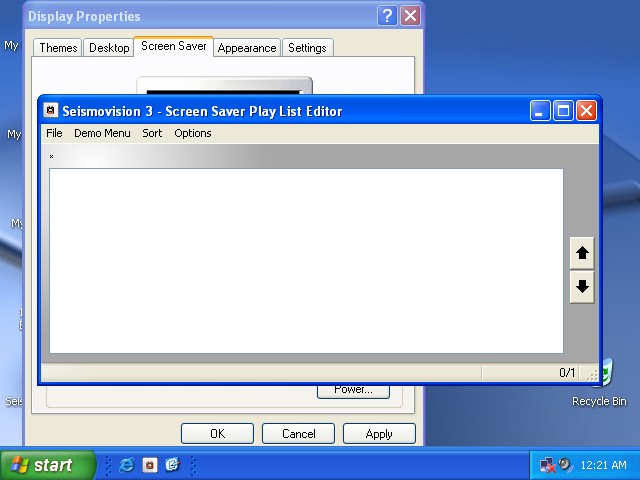
Now you can add demos to the screen saver play list. Read the play list guide for in depth information on the use of the play list editor.
4. Update Screen Saver Play List
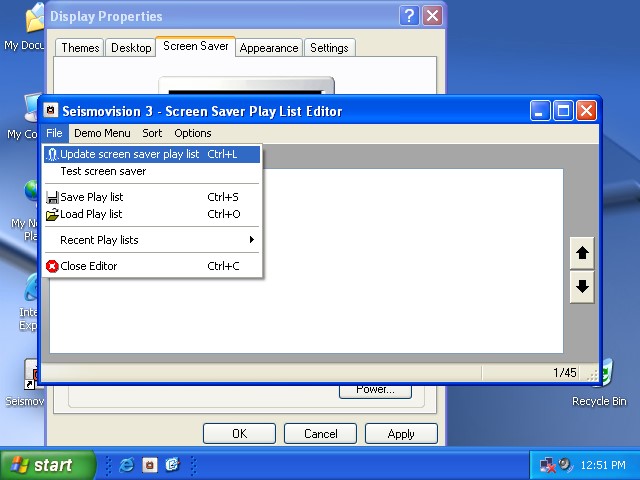
When done editing your play list, you will have to save the screen saver play list. On the 'File' menu select 'Update screen saver play list'. A message box pops up confirming the save. Now you can close the play list editor. Click 'Ok' at Display Properties. Now your screen saver is configured to play demos.
When the screen saver activates, you still have 10 seconds to abort. A message box pops up announcing the screen saver.
Unlike other screen savers, moving the mouse does nothing to stop this screen saver. You will have to exit the game playing the demo. Most games close by pressing Keypad 0 (Ins). Read up the demo controls for your demo type.